When black buzzers are hatching, try this suggestive pattern by Rutland guide Al Owen. Always use a size 10 hook. To imitate a smaller buzzer, tie it short.
Material list for Al’s Buzzer
Hook: Size 10 Kamasan B175
Body: Black 6/0 Uni thread
Rib: Natural stripped peacock quill wound in open turns
Thorax: Black 6/0 Uni thread
Cheeks: Sunburst goose biots (two on each side)
Varnish: 3-4 coats over whole fly
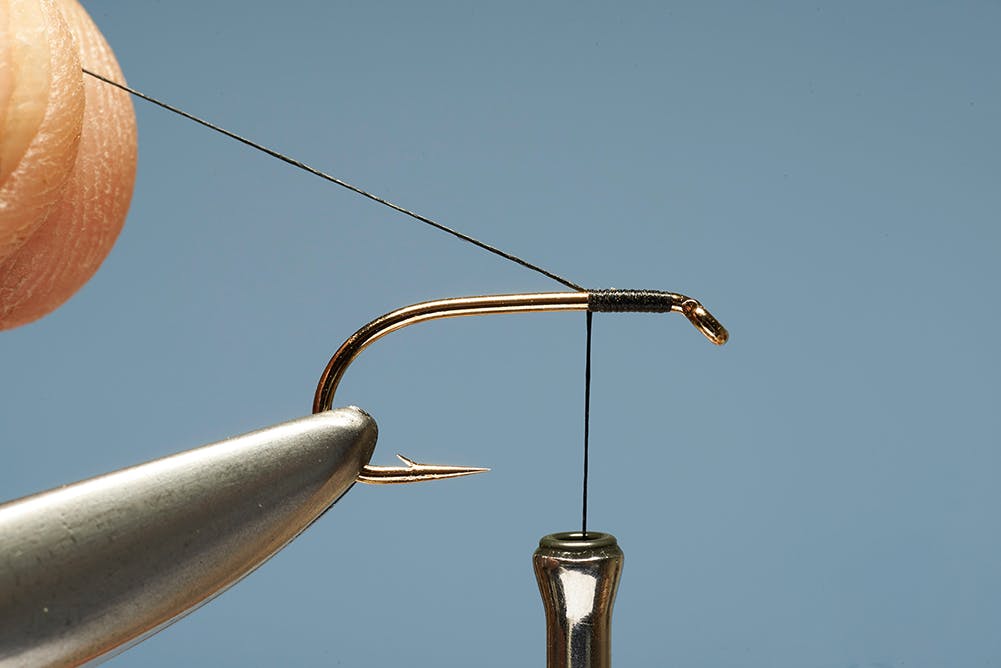
Step 1. Fix the hook in the vice and run on the tying thread just behind the eye.
Step 2. Trim off the loose end of thread then wind the thread down the shank to the bend. Catch in a length of stripped peacock quill, by its tip.

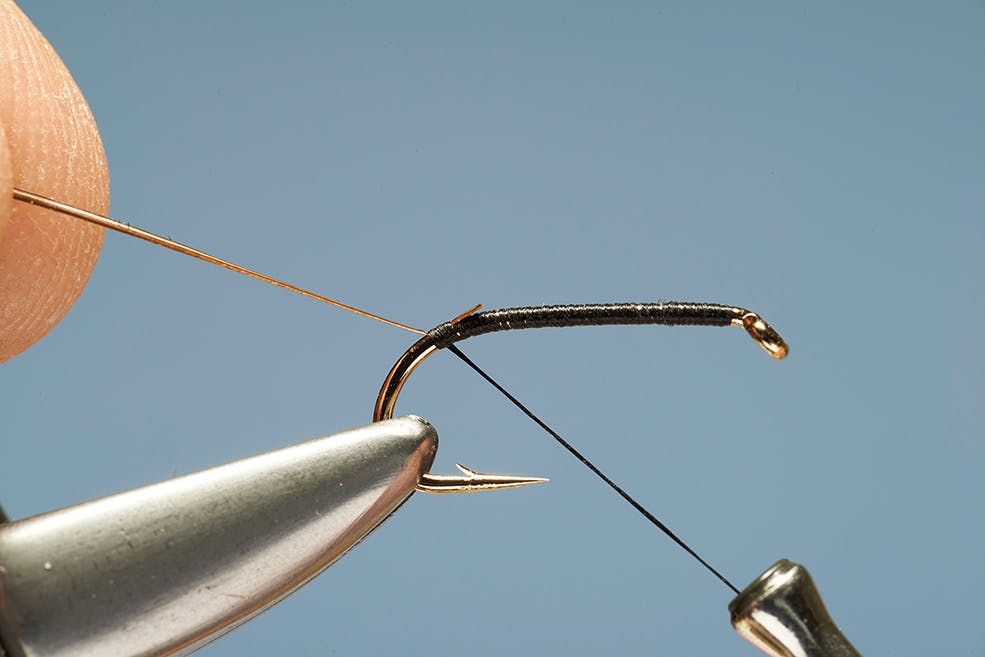
Step 3. Wind the thread back towards the eye. Keep the turns close together to form a slim body. Apply even turns of the quill.
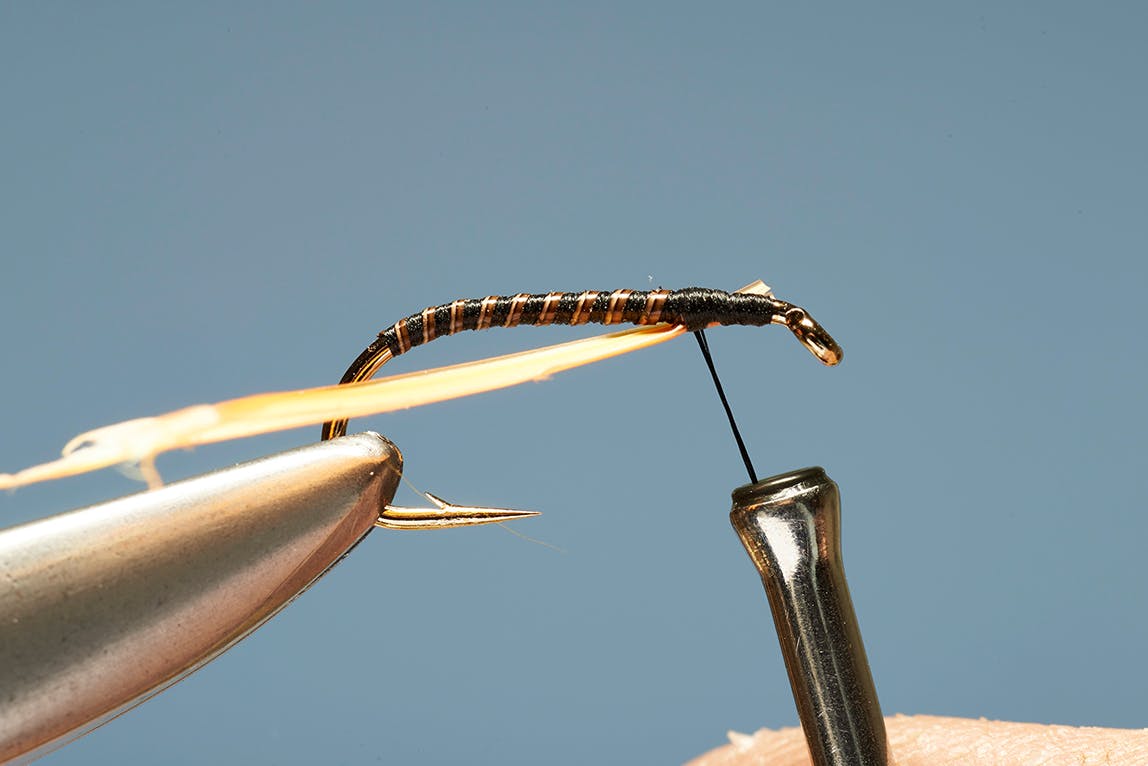
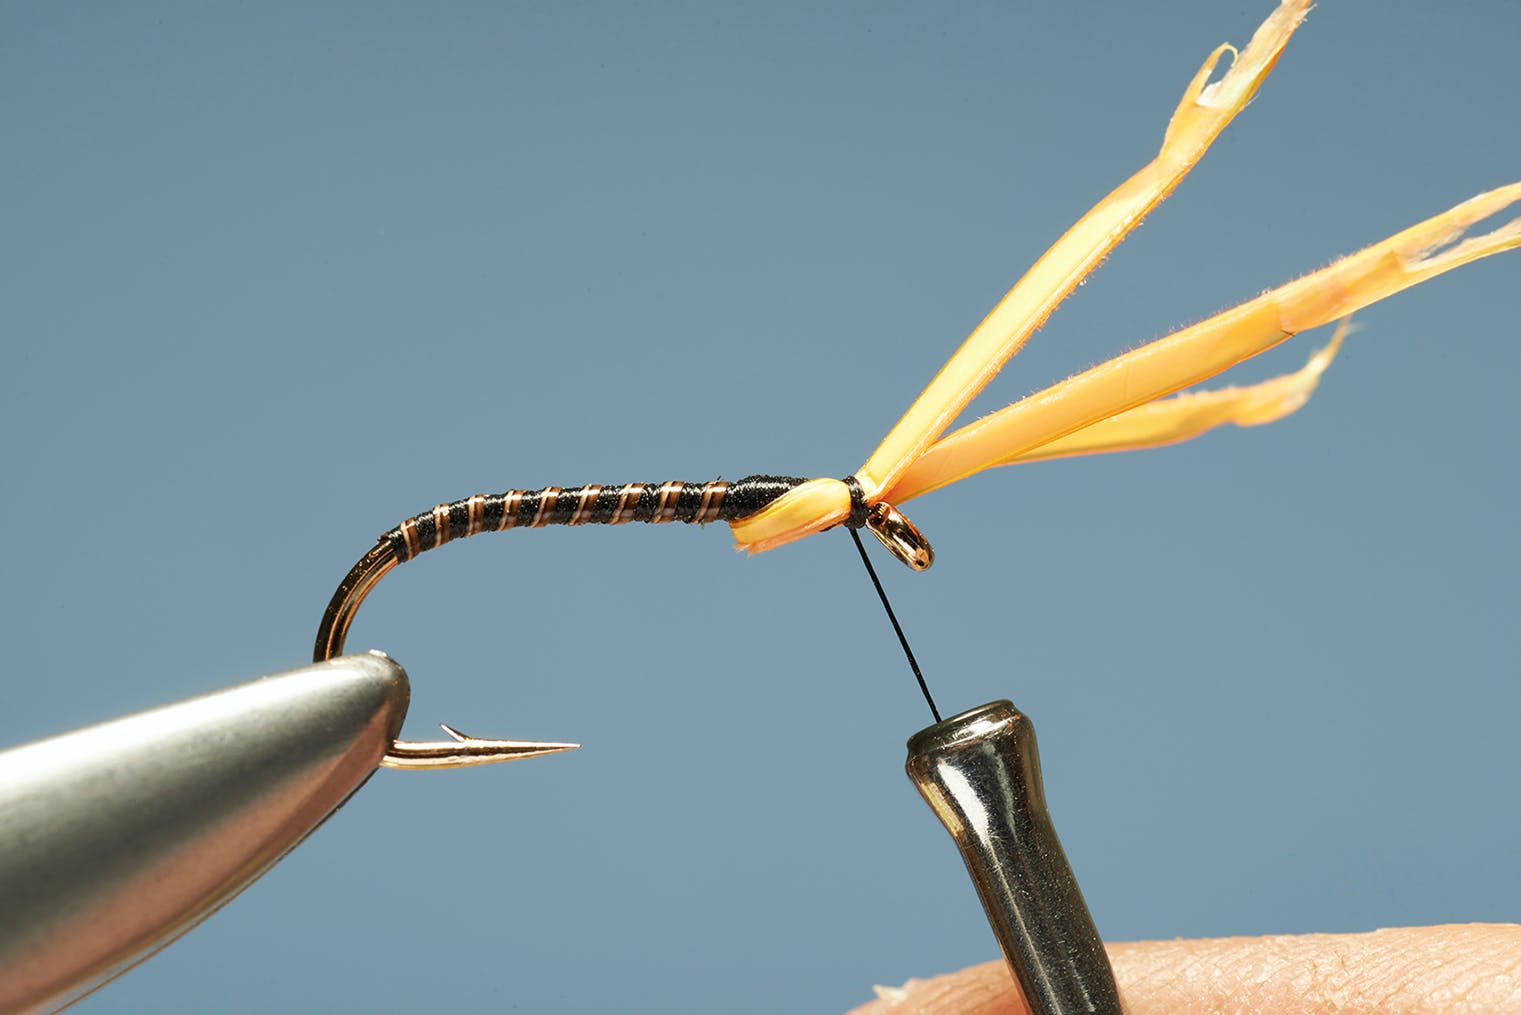
Step 4. Take two sunburst-orange goose biots and place them together. Trim their tips then catch them in on the underside of the hook.
Step 5. Prepare two more biots the same way and catch them in on the underside of the hook on the far side. Build a slim thorax with thread.
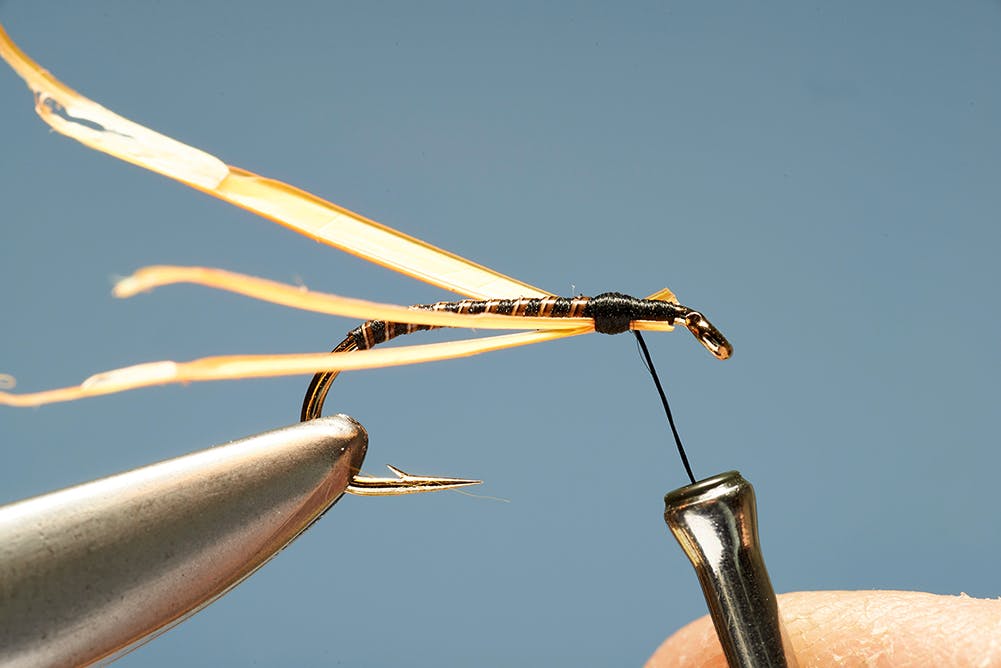
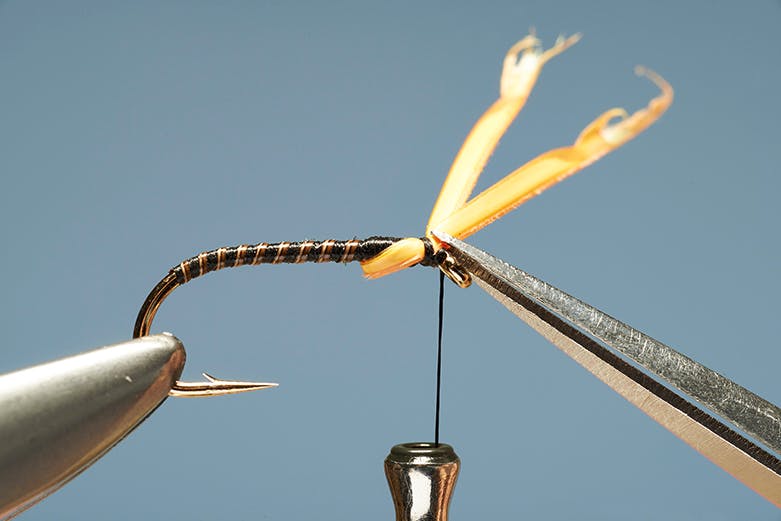
Step 6. With the tying thread positioned immediately behind the eye, draw the goose biots forward and fix the ends in place on top of the thorax.
Step 7. Apply two thread turns directly behind the eye then trim off the biots’ waste ends.
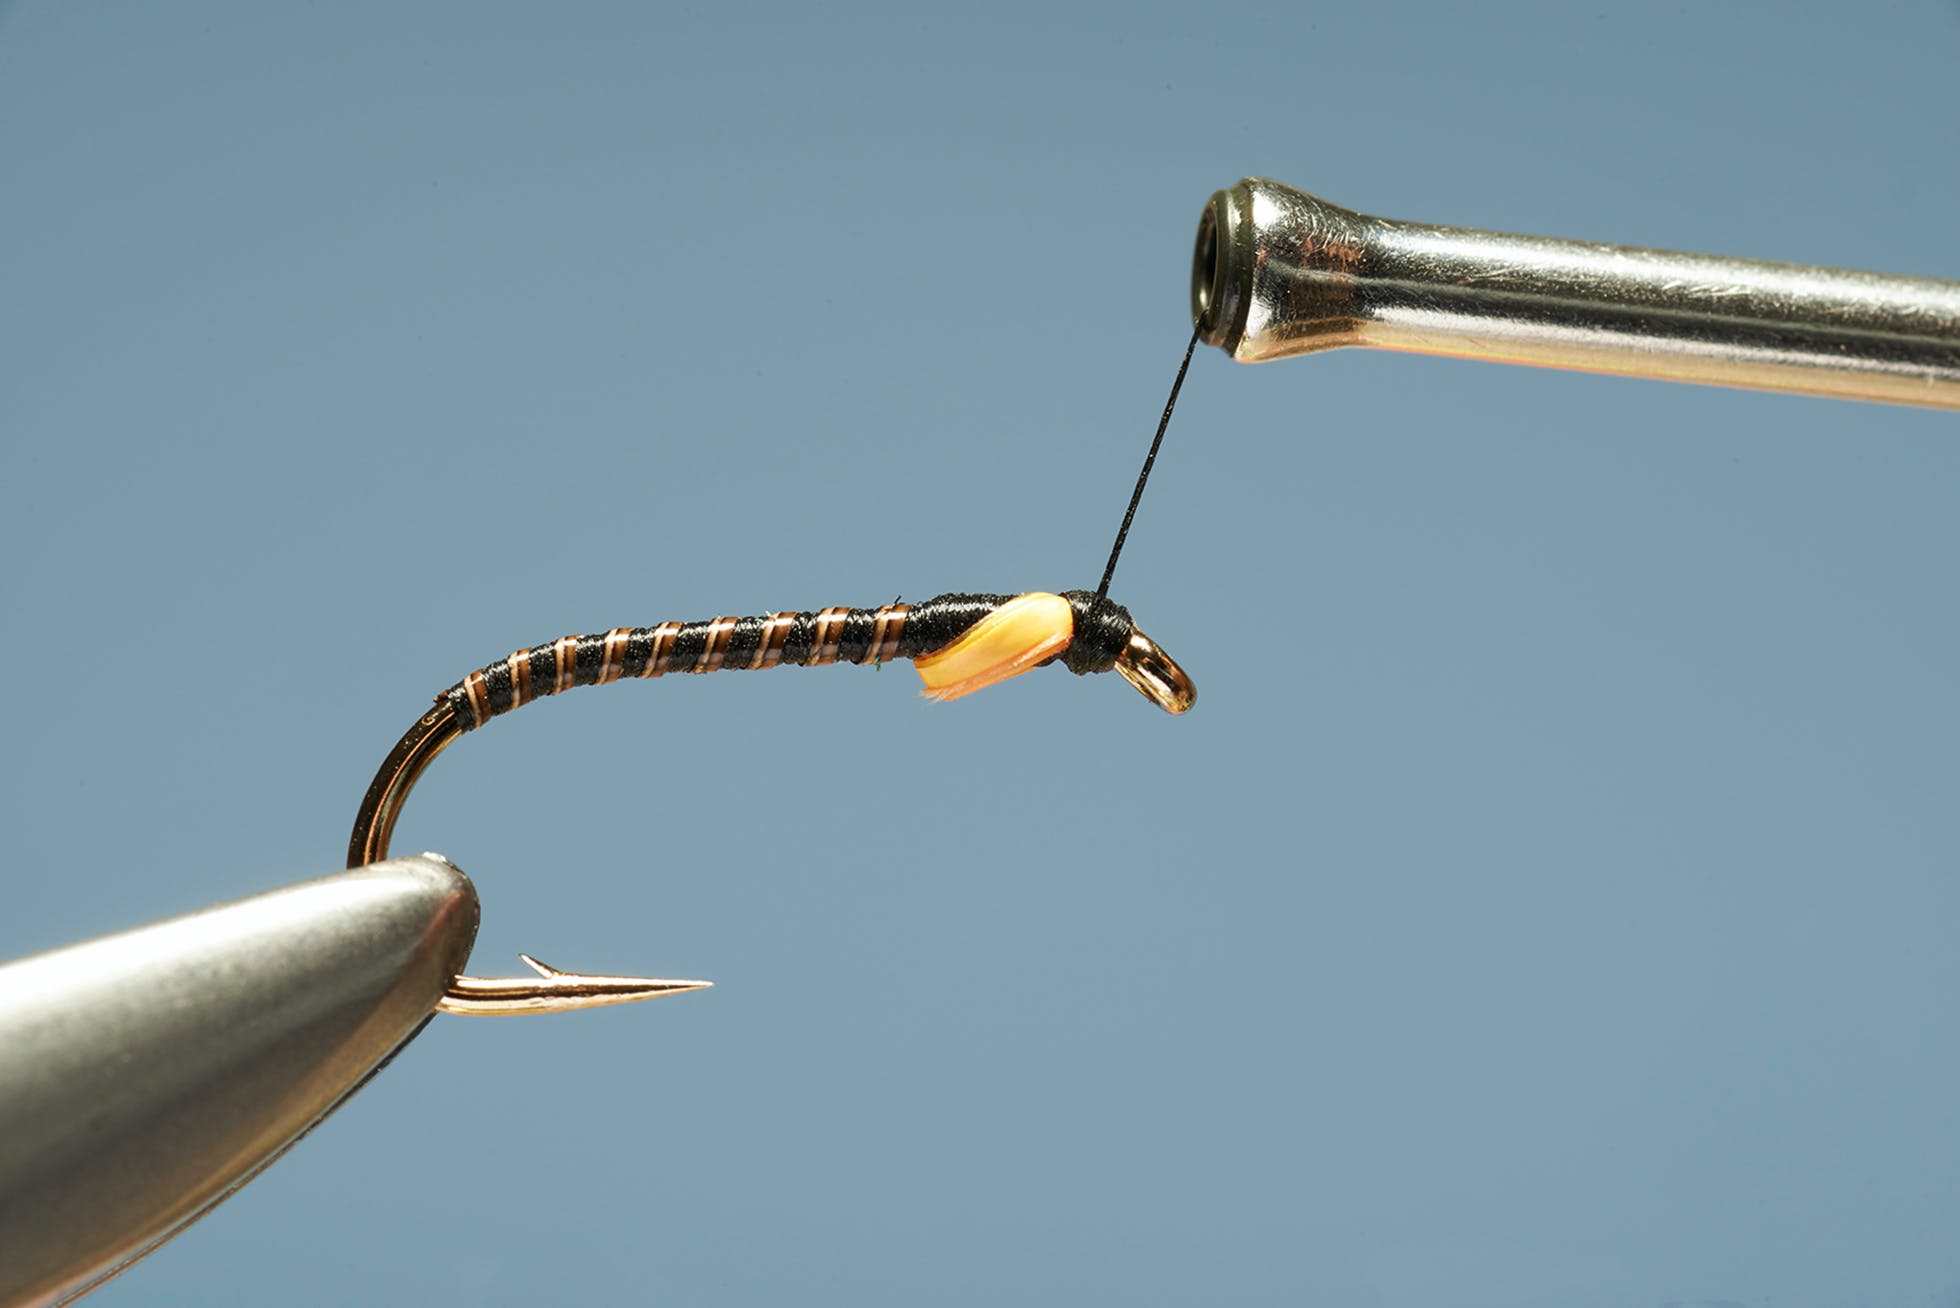
Step 8. Build the head, then cast off the thread with a whip finish.
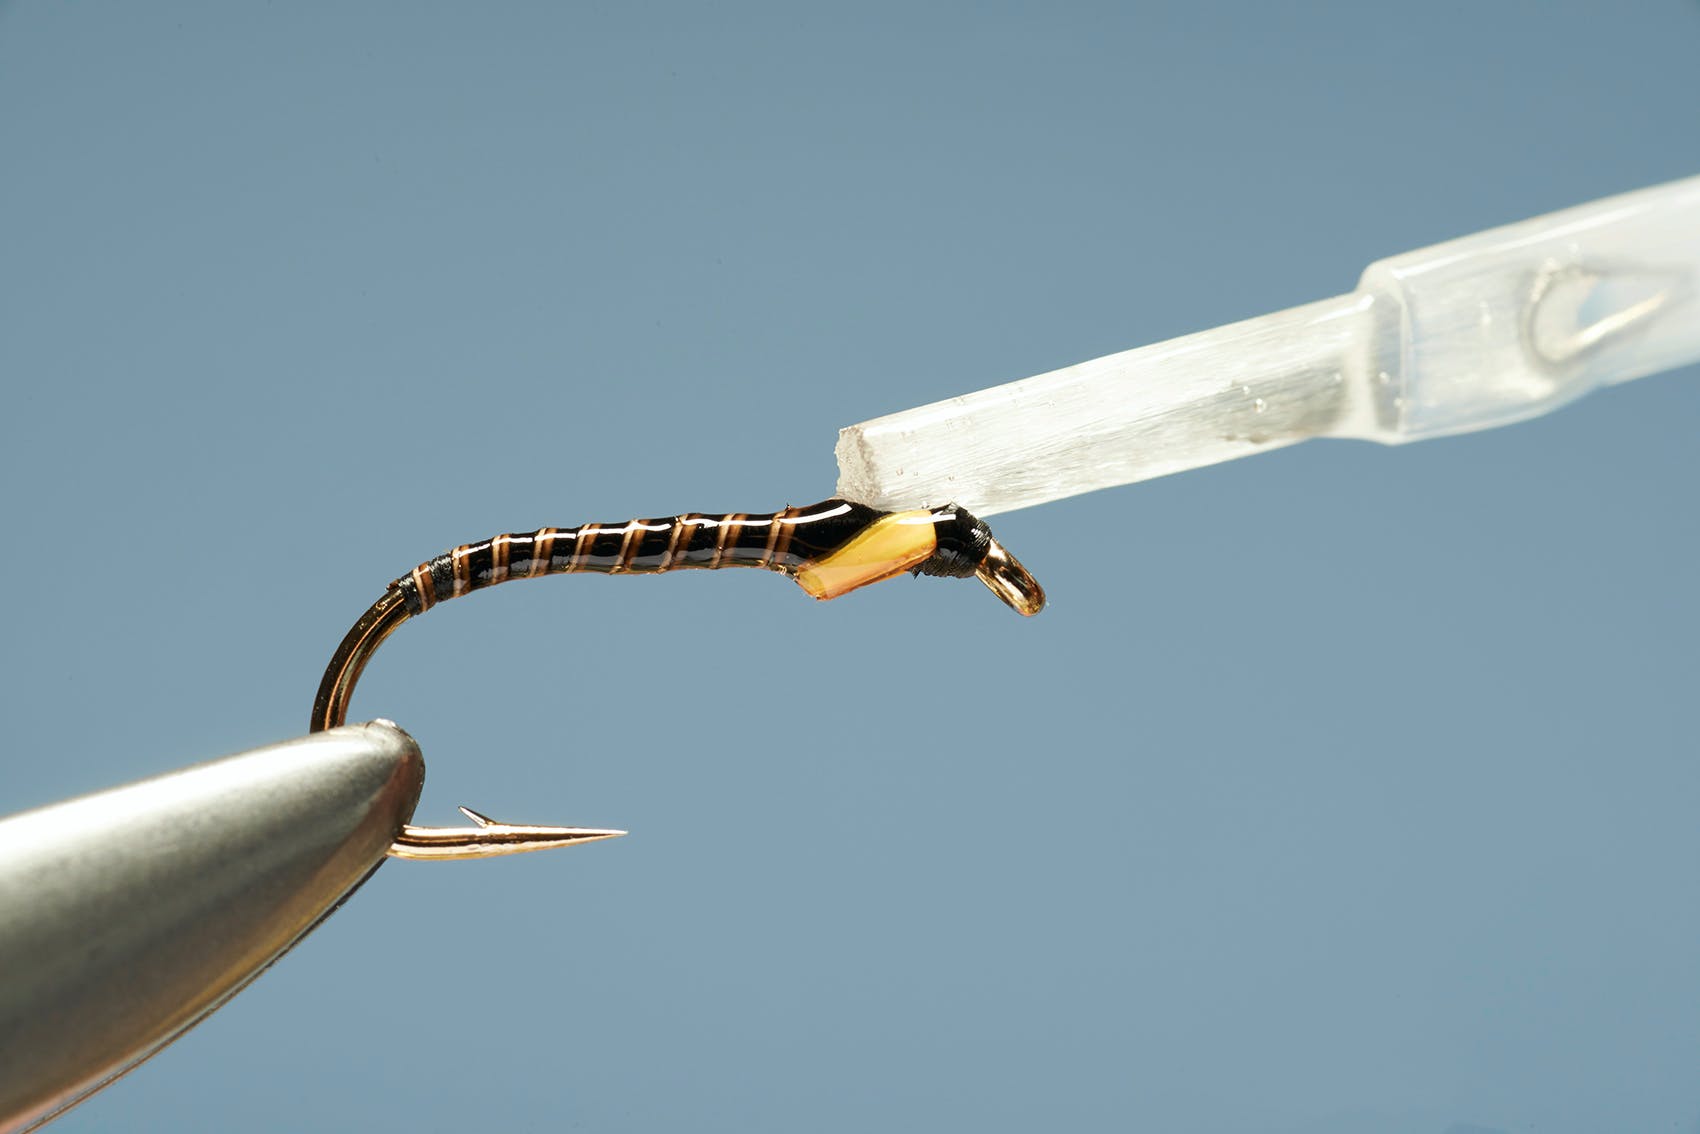
Step 9. Apply a coat of clear varnish to the entire fly then allow it to set fully. Add two or three more coats of the varnish to create a smooth effect.