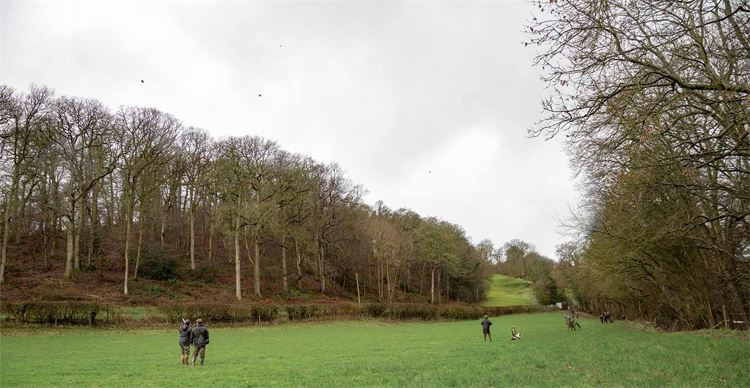
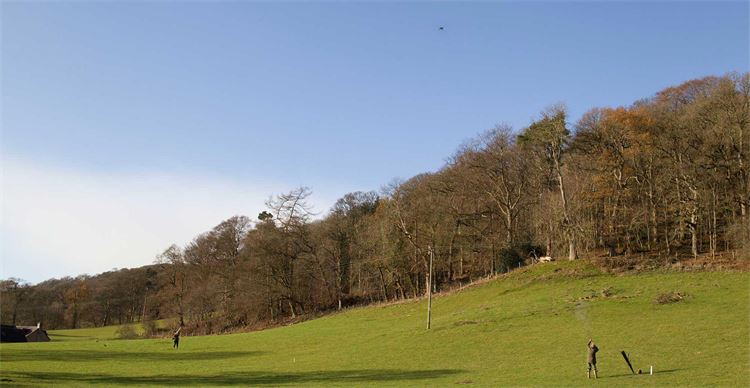
There are many different theories on how to become a consistent high pheasant Shot. This article looks at what I feel are the important elements which hold the key to enjoying more success at those soaring birds which tempt, tease and frustrate us. And keep us coming back for more.
Footwork
You can never over-emphasise the importance of footwork in all forms of shooting. The higher the bird, the more I would recommend a slightly narrower stance. This aids agility and helps keep your gun moving. The bird will always dictate where you need to move your feet, once you have plotted its course, so that you are positioned in line just past where you plan to kill the bird in a window in the sky.
The reason why I stress moving your feet a little ‘further past' where you plan to take your shot, is to aid the free movement of both your body and gun after you have taken your shot. Follow through and remember to keep the gun moving once you have taken your shot. For the right-hander, point your left hip in line with where you plan to take your shot.
Gun-mount
To shoot high pheasants consistently, your gun mount needs to be up to scratch. To help your cause greatly, you can quietly practice in the comfort of your home with a pair of snap caps in your gun. Training yourself to mount your gun smoothly and accurately – and as you take your shot keeping your gun moving smoothly – will pay huge dividends once you enter the shooting field.
Your gun wants to feel like an extension of your lead arm. At the end of the day your shooting can only improve if you are willing to take time out to hone your basic skills. Masters of all sports practice the basics, that's why they seem to make it look so easy and unhurried. Practicing good habits breeds success, but when the wheels come off it will always be back to basics to get back on track.
And remember, keep your cheek glued to the stock until you see the bird start to fall. It will aid picture memory and helps keep your gun moving.

Timing
Through years of experience of watching people shoot at high pheasants you can start to tell even before the Gun has taken his/her shot whether it will be successful or not, just from their timing.
1) There is always an optimum angle where the bird is either more vulnerable to your shot.
2) For a straight driven high bird, the temptation is either to start too soon and spend too long following the bird with your gun in the shoulder. The tendency then is to take your eye off the bird and start to look at your barrels. Or, leave it all too late and end up throwing the gun up at the very last minute, ending up with a hope shot. This sometimes works but is not consistent.
3) For perfect timing, try to get yourself into the address position and ready to engage as the bird reaches 10 o'clock. The first shot is taken at 11 o'clock and, if needed, a second shot at 12 o'clock. Again, remember to keep your gun moving smoothly with your lead-hand and body.
4) For high right to left crossing shots, position your feet just past where you plan to take your first shot. Address the bird and plan to kill it in a window between 10 o'clock and 8 o'clock.
5) For high left to right crossing shots, position your feet just past where you plan to kill your bird in a window between 2 o'clock and 5 o'clock.
For the right-handed Shot, I would strongly recommend that when taking left to right crossing birds you position your feet a little further round than you think. This aids the free movement of both body and gun for the all-important follow through.
Reading and holding the line
Above all else you must focus on the bird. Keep your eyes glued onto the front end of the bird; i.e. the bird's head. Easier said than done when you are presented with high birds, as the higher they are the bird's profile shrinks and your eyes are drawn more to the body and tail.
The higher the bird, the more difficult it is to stay on the true line of the bird from start to finish. A fraction out at the end of the gun is magnified by range.
When shooting high pheasants, if you can concentrate on locking on just behind the bird, you will then have more chance of holding the bird's true line once you make the move to overtake the bird and take your shot.

High crossing shots:
As mentioned, holding the bird's line and the timing of your shot are crucial to your success.
High crossing to your left:
1) Move feet into position.
2) Drop right shoulder and cant (tilt) your gun so you are parallel to the line of your bird. If you achieve this position before you mount onto the tail of the bird you are more likely to hold the bird's line through the movement of your gun. And if you don't set yourself up in this position you will more than likely miss the bird underneath.
High crossing to your right:
1) Move your feet into position, and remember for the right hander a little further round than you think.
2) Drop the left shoulder and cant your gun so that you are parallel to the line of the bird. Again if you achieve this body position before mounting on to the tail of your bird you are more likely to hold the birds line through the movement of your gun.
Judging range
One of the keys to success in all game shooting is judging range. With high pheasants this is imperative as they go in and out of range within a few yards. It can be very easy to get drawn in to shooting at birds which are beyond the effective range of your gun.
Many of the high bird shoots up and down the country are presenting their birds higher and higher. We all have a duty out of respect for our quarry and sport to refrain from shooting at birds which we know are out of shot. Trust me, 50 yards is a long way up and if you can become consistent at killing birds between 35 yards and 50 yards you will be doing extremely well.
How much lead? Everyone moves their gun at a different speed and as a consequence see a different lead picture to the next person. There is no finite answer because of these factors.
If you plan to mount your gun relative to the speed and line of your bird, just behind its tail, momentarily lock on for a split second then start to accelerate smoothly past the head of the bird pulling the trigger as the lead starts to open up as you pull away, keeping your gun moving. Your brain will tell you when the lead is correct. Trust your instincts and pull the trigger without hesitation, keeping your gun moving after the sound of your shot.
Remember when you hear the sound of your shot you haven't finished the job. If you put the brakes onto your gun's movement once you pull the trigger, you will end up missing the bird behind, even if you had judged the correct lead.
The higher the bird, the longer you need to keep the gun moving after your shot has been taken to allow the shot string to get out there for the bird to collide into. When you create the ‘perfect shot', the bird's head and neck collide into the middle of your shot string. Visually the bird's head snaps back and the feet are thrown forwards. As and when you achieve this reaction you know you have just achieved the perfect shot. This always wants to be your goal.
For the right-handed Shot, the left to right crossing bird needs more lead than the same range of bird crossing from right to left. This is because if you shoot from the right shoulder, your body starts to tighten up when rotating to the right. To neutralise this, increase the perceived lead and keep the gun moving with your left hand after you have taken your shot.
In extreme weather conditions, notably high winds behind the birds, plan to engage sooner than you would on a calm day and don't be afraid to increase your lead pictures with a more positive follow through at the finish to your shot.
Guns and ammunition
Either side-by-side or over-under. Most people find an over-under more manageable with which to shoot high pheasants. They point more accurately onto long range birds and you can see better. They also tend to be slightly heavier which aids a smoother swing and absorbs recoil more efficiently. I shoot a Perazzi 32” but it's a personal choice. Whatever your preference, good gunfit is absolutely crucial.
Recommended barrel length: 28”–32”.
Chokes: ½ to full.
Ammunition: 30-36gram, No. 5s or No. 4s. Again it's a personal thing but after watching a lot of people shooting at high pheasants and the visual impact of No. 4 shot is definitely the way forward. They deliver much cleaner kills and less wounded birds.